Laptop Screen Replacement: 7 Why’s & 8 DIY Steps
Introduction:
Ouch! Your LCD screen is damaged and you need a laptop screen replacement. Laptops are susceptible to excessive wear and tear due to being mobile, with the LCD screen being one of the most vulnerable components. When your laptop’s display starts showing signs of malfunction or damage, it might be time to consider replacing the LCD screen. In this comprehensive, yet not exhaustive, guide we’ll explore the top reasons why you may need to replace your laptop’s LCD screen and provide a step-by-step guide to help you do it yourself. Since laptop builds vary from brand to brand and usually from model to model these instructions will be the general steps you will take. There is a great site called ifixit that can help with purchasing laptop screen replacement parts and model specific information.
Some laptop screen replacement requires that the whole upper assembly be replaced, not just the LCD or glass component. For these you will not need to remove the bezel or separate the LCD from the cover. We will cover doing a whole LCD assembly replacement in another post.
Reasons for Needing to Do Laptop Screen Replacement:
1. Cracks and Physical Damage:
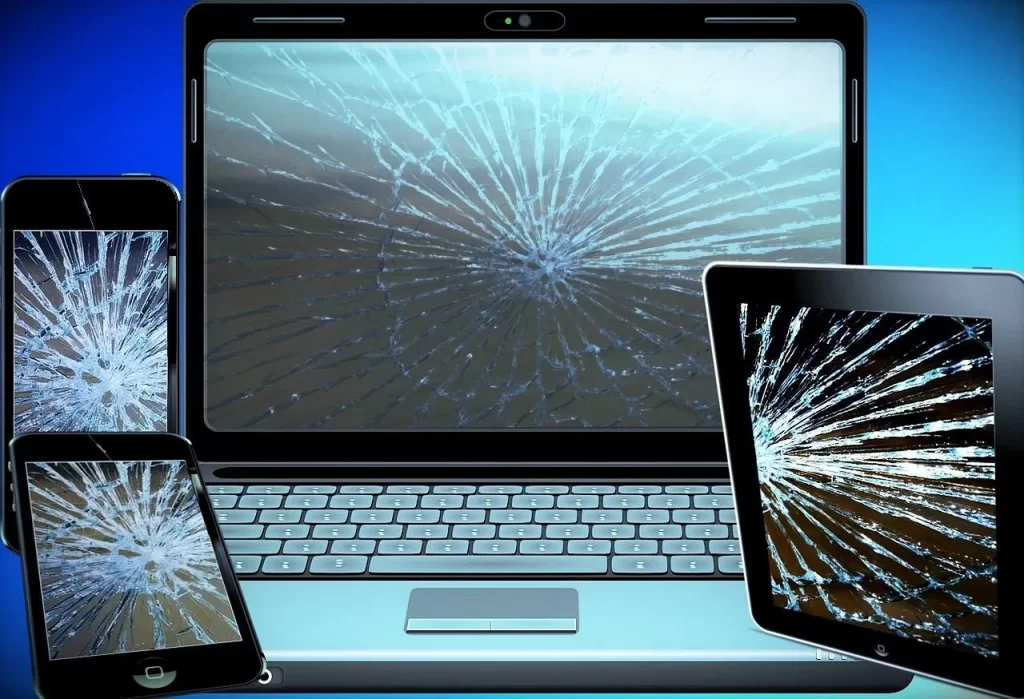
Accidents happen, and a cracked or physically damaged LCD screen is a common reason for replacement. Whether it’s from a fall or impact, a damaged screen can render your laptop unusable and may also lead to further internal component issues if not addressed promptly.
2. Dead Pixels:
Dead pixels are tiny, discolored dots on the screen that fail to display the correct color information. While a few dead pixels might not be bothersome, clusters of them or a significant number can become a major nuisance and hinder your overall computing experience.
3. Backlight Issues:
The backlight illuminates the screen, allowing you to see the display clearly. If the backlight malfunctions or burns out, the screen may appear dim, flicker, or show no display at all. Replacing the LCD screen can resolve backlight problems and restore optimal screen visibility. At one time the backlight could be replaced without having to do a total laptop screen replacement, but now they are usually a part of the LCD.
4. Flickering or Fading Display:
If your laptop’s screen flickers or fades intermittently, it could indicate a faulty LCD panel. This issue might arise due to loose or damaged internal connections or a deteriorating screen. You will have to do or have done a laptop screen replacement.
5. Color Distortion and Image Artifacts:
Color distortion, strange lines, or artifacts appearing on the screen can be signs of a defective LCD panel. These issues might result from a manufacturing defect or long-term usage.
6. Burn-In or Image Persistence:
Burn-in occurs when a static image remains on the screen for an extended period, causing a permanent ghost-like image to appear even after the screen changes. This can happen with older LCD panels, particularly those used in gaming laptops or multimedia devices. This is mainly a problem with older CRT monitors. This is why screen savers were created.
7. Compatibility with New Technologies:
Sometimes, laptop users may want to upgrade their screens to take advantage of newer display technologies, such as higher resolutions, better color accuracy, or faster refresh rates. Upgrading the LCD screen allows users to enjoy improved visual experiences and stay current with advancements.
How to DIY A Laptop Screen Replacement:
Before you begin, ensure you have the appropriate replacement LCD screen compatible with your laptop’s make and model. If you are in doubt about the part number, remove the laptop screen for replacement and look for a part number (PN or P/N). Additionally, have the necessary tools, such as a screwdriver set and an anti-static wristband, to avoid static damage before beginning the repair. Like we stated before, there are great websites that offer DIY help along with selling the parts or tools necessary.
1. Prepare the Workspace:
Choose a clean, well-lit workspace and power down your laptop completely. Remove the battery and unplug the power cord for safety.
2. Remove the Bezel:
Gently pry open the plastic bezel surrounding the screen using a plastic opening tool. Be cautious not to apply excessive force to prevent damaging the bezel or the screen.
3. Disconnect the LCD Screen:
Locate the LCD screen’s connector, typically at the bottom of the display panel, and carefully disconnect it from the laptop’s motherboard. Again, use gentle pressure to avoid damaging the connector.
4. Remove the Old LCD Screen:
With the bezel and connector detached, take out the old LCD screen from the laptop. Handle it with care and avoid touching the exposed circuitry.
5. Install the New LCD Screen:
Place the new LCD screen into the laptop’s frame and reconnect the screen’s connector to the motherboard. Ensure a secure connection is made.
6. Test the Replacement:
Before reassembling the laptop, power it on to verify that the new LCD screen functions correctly. Check for any abnormalities, dead pixels, or display issues.
7. Reassemble the Laptop:
If everything looks good, reattach the bezel carefully. Press it firmly to snap it back into place.
8. Final Checks:
Put the battery back into the laptop and plug in the power cord. Power on the laptop and thoroughly test the new LCD screen to ensure it works correctly in various conditions. You have now successfully performed your first laptop screen replacement.
Conclusion:
While doing a laptop screen replacement might seem intimidating, but it’s a doable task that can save you money and extend the life of your device. By understanding the top reasons for needing an LCD screen replacement and following the step-by-step guide, you’ll be equipped to tackle this task with confidence. Whether it’s due to physical damage, dead pixels, or other issues, replacing the LCD screen will undoubtedly breathe new life into your laptop and enhance your computing experience.


